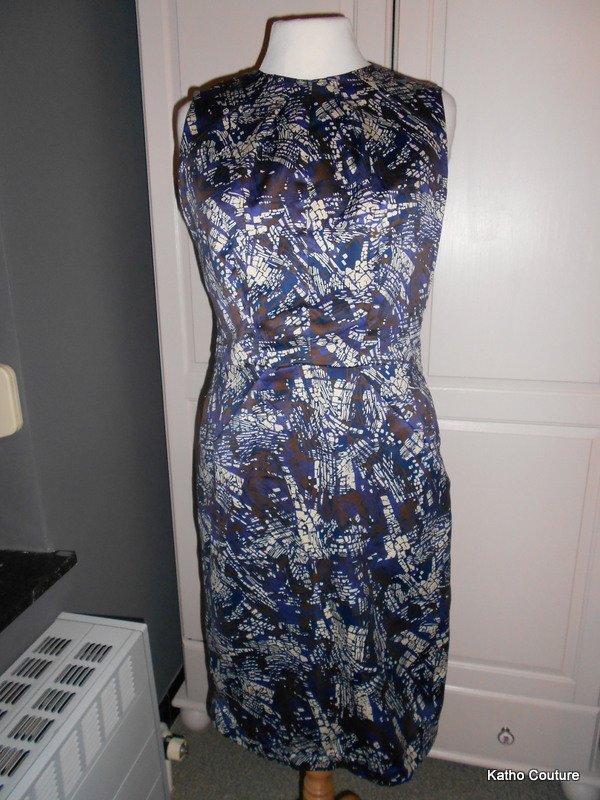
Finally some pictures of my finished dress (
#131 Burda Style 08/2012). This dress took me a very long time to complete. I wanted the seams to align as perfect as I could. So I did a lot of adapting, basting and re-basting.
This dress patern is for a women of 1m70, I'm a petite so I needed to adjust the pattern to my length (1m60).
This is how I adjusted the pattern:
- I took my measurements in the manner Burda instructs.
- Then I compared my measurements to these of Burda.
- I adjusted my back length and my front waist length. I did this because these measurements didn't correspond with my measurements.
- My front waist length is 45 cm. But I have a size 76 and in this size the front waist length is 47 cm. So I shortened the bodice with 2 cm. The same I did with the back length.
note for beginners (like me ;)): never shorten a bodice by cutting the underside of the pattern, you shorten a pattern by making a fold in the pattern and redrawing the lines (seams and pleads) so they'll match again. When you don't do it this way your seams wont align!
Because I adjusted a pattern for the first time I made a toile. I made my toile out of a very cheap polyester. This dress (showed below) ended up well and now I wear it to go to student parties.
While I was making this dress I met my knew best sewing companion.
It's so handy! I can't do without! This makes it so much easier to align those seams because your seam allowance is the same everywhere! Before I measured with my measuringtape but this is less accurate in my opinion.
Making the dress and how to align the seams and topstitching
For this dress I used a 100% wool. It was €35/meter, so I couldn't afford to mess it up!


Below you can see the beautiful aligned seams and top stitching.
This is how I did the top stitching:
- The top stitching in the bodice was already done, then I (machine)basted the two parts (bodice and skirt) together and aligned the seams. Then I pressed! Don't forget this, it's the most important part!
- While the two parts where basted I marked the point where the top stitching had to begin with a white basting thread (see below)
- Then I undid my basting, topstiched the seam and stitched it all together again, while paying attention to the seam and top stitching! I do this by pinning the top stitching and seam together before pinning the rest of the bodice and skirt together. Then I stitch.
- Et voila! perfect aligned seams and top stitching!
And here is my dress! The pictures are taken at the première of a local theatre piece: Popcorn. I loved it! It was a theatre piece like I've never seen before with lots of action.
(btw: I adjusted the sleeves of the dress, I think the original sleeves made me look smaller and made the dress way to conservative.)